**This will be a multi-part series of blog posts.
PART 1
After spending quite a bit of time traveling and staying in the van we have decided that the layout we had was not the best fit for us. In case you don’t know, we had a roll out queen mattress on the floor, a built-in oversized bunk that the kids slept in and wall cabinets for storage. The big bunk worked well when the kids were smaller. The kids need their own spaces now, for EVERYONE’S sanity!
We are going to try it again. This time, we are doing 2 sets of bunks. The design is going to be a little tricky so we will have to use some real brain power here. The top bunks will fold down to create the back of the seating area when they are not in use.
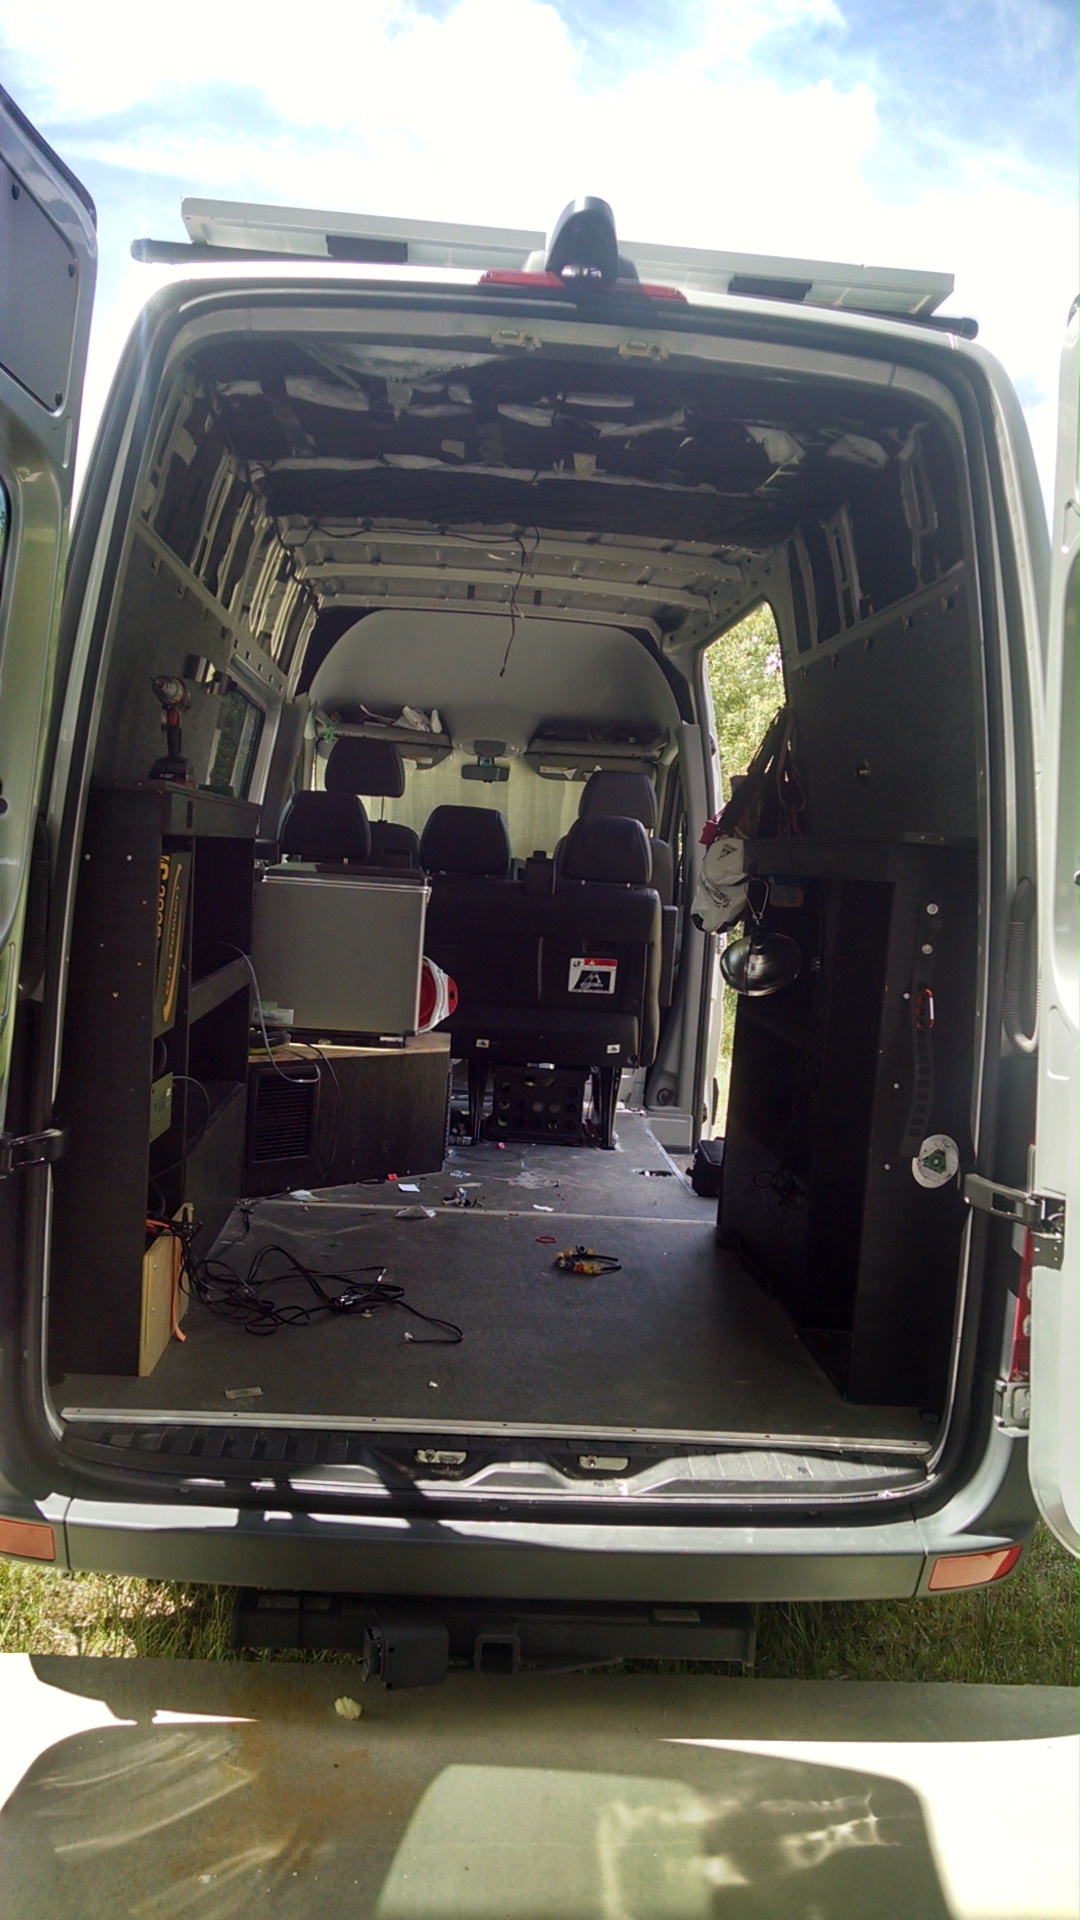
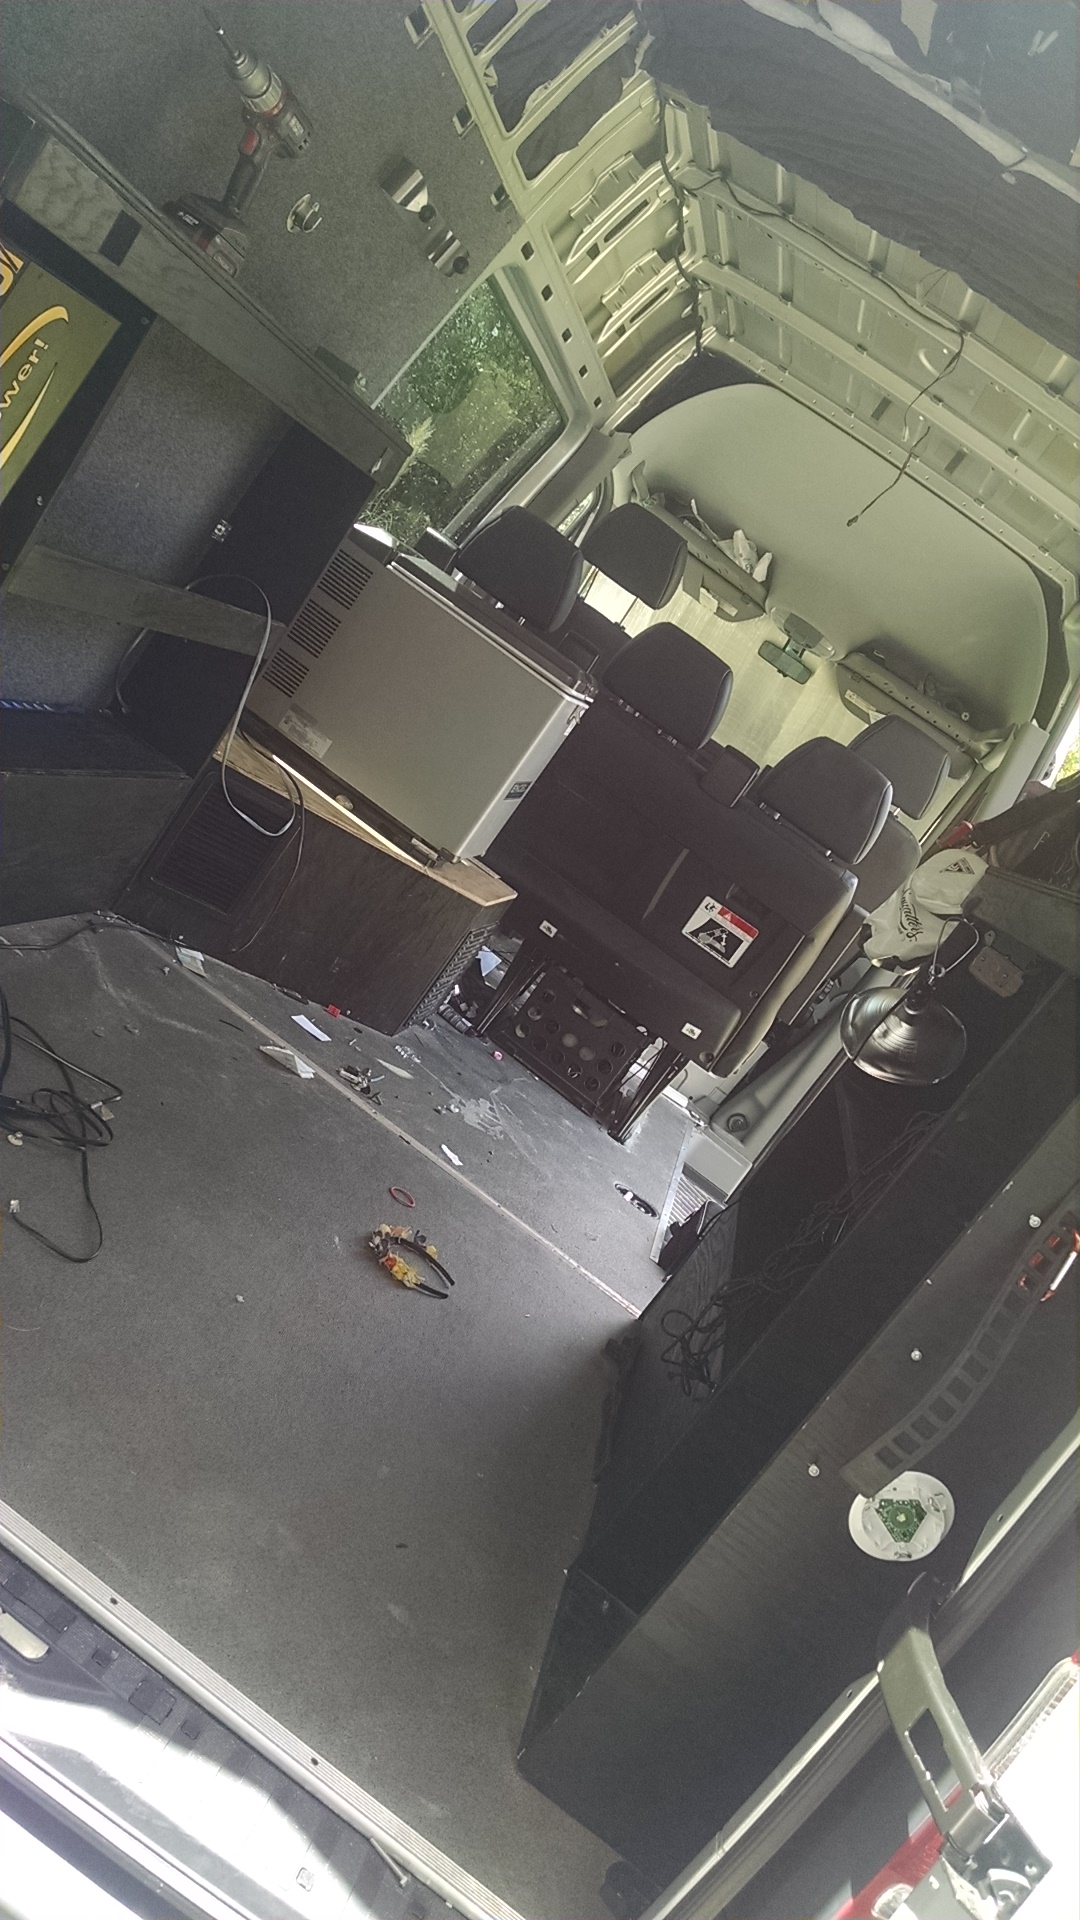
First things first, RIP IT ALL OUT!
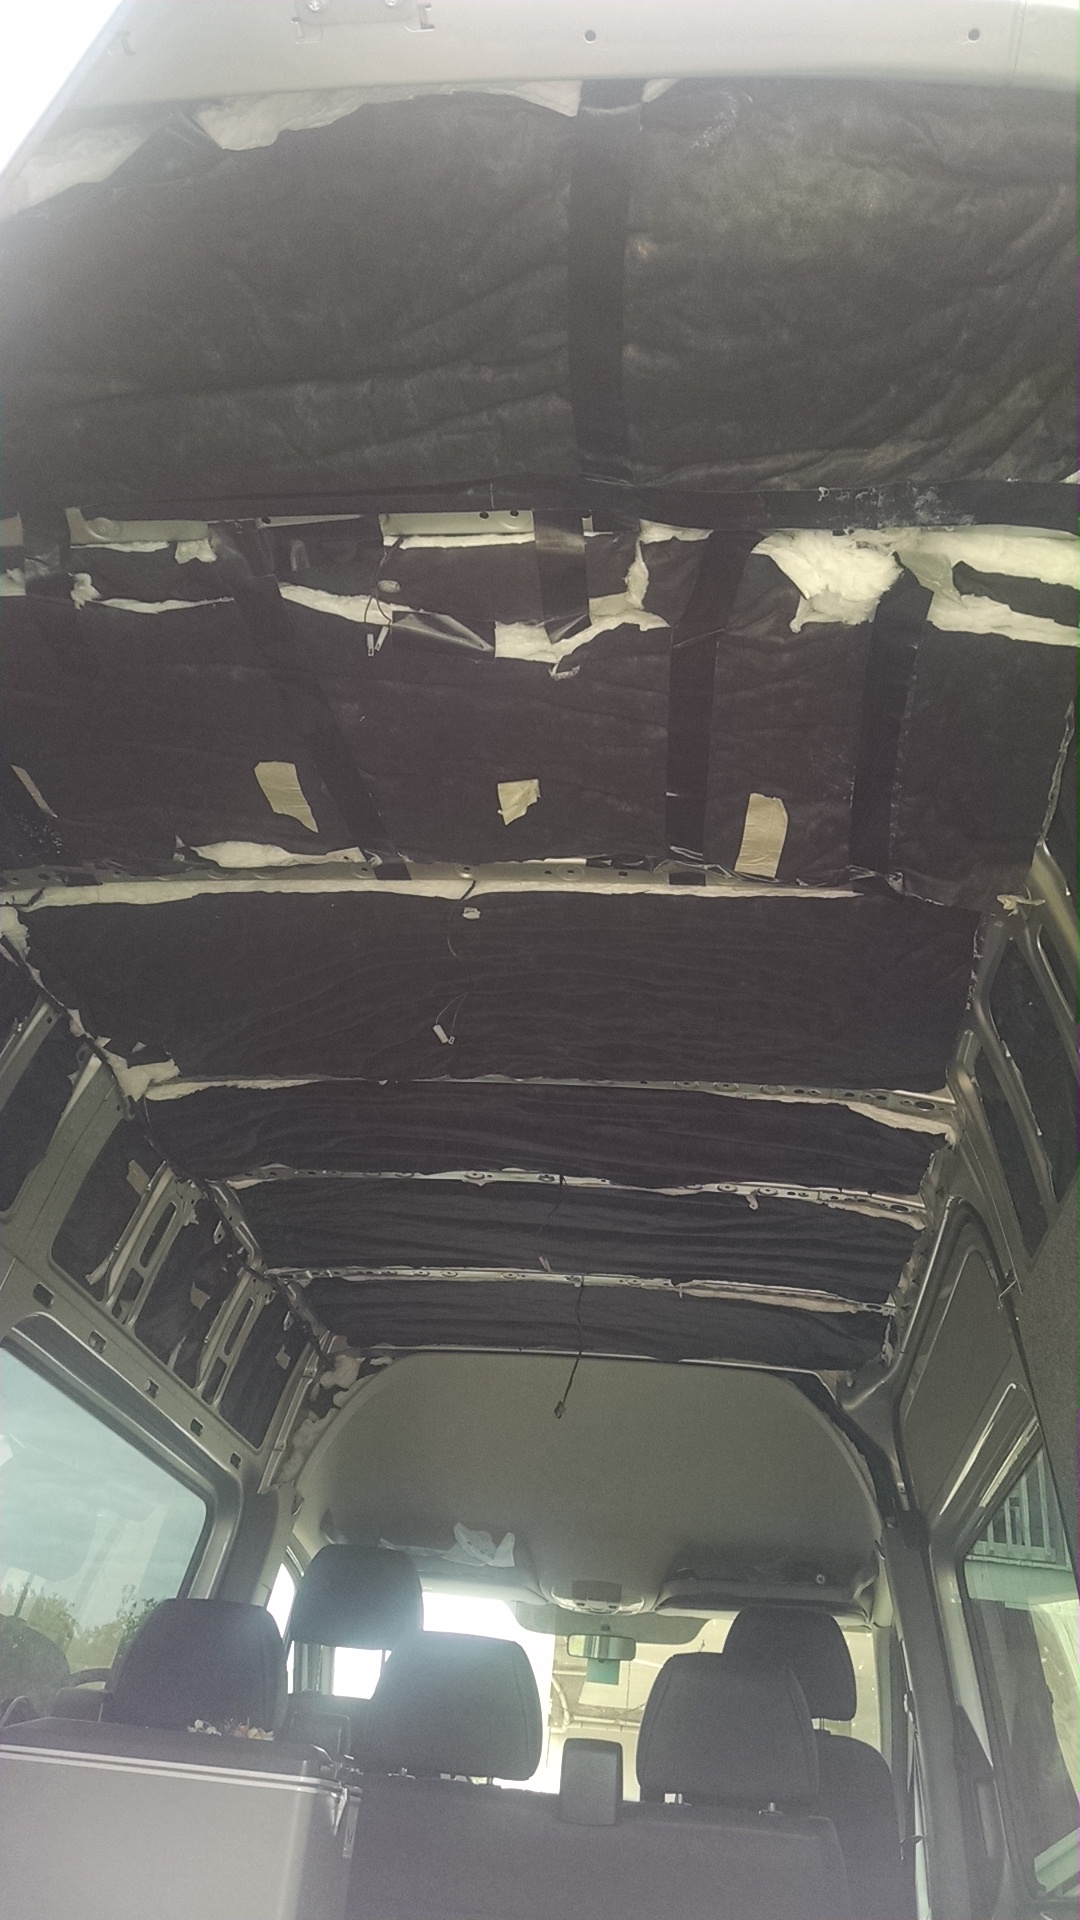
We have taken out the black wall cabinets and the carpet walls. As you can see in the photo, the ceiling panels are not there. This is because we are adding insulation, 3M Thinsulate. It is a little bit on the expensive side, but it is the best for insulating a vehicle. It comes in a roll and you cut it to fit the space. That one rib looks pretty raggedy-HA!
The Next thing we worked on was building new, heavy duty walls. We used the old wall as a template. There is Chad doing all the hard stuff. 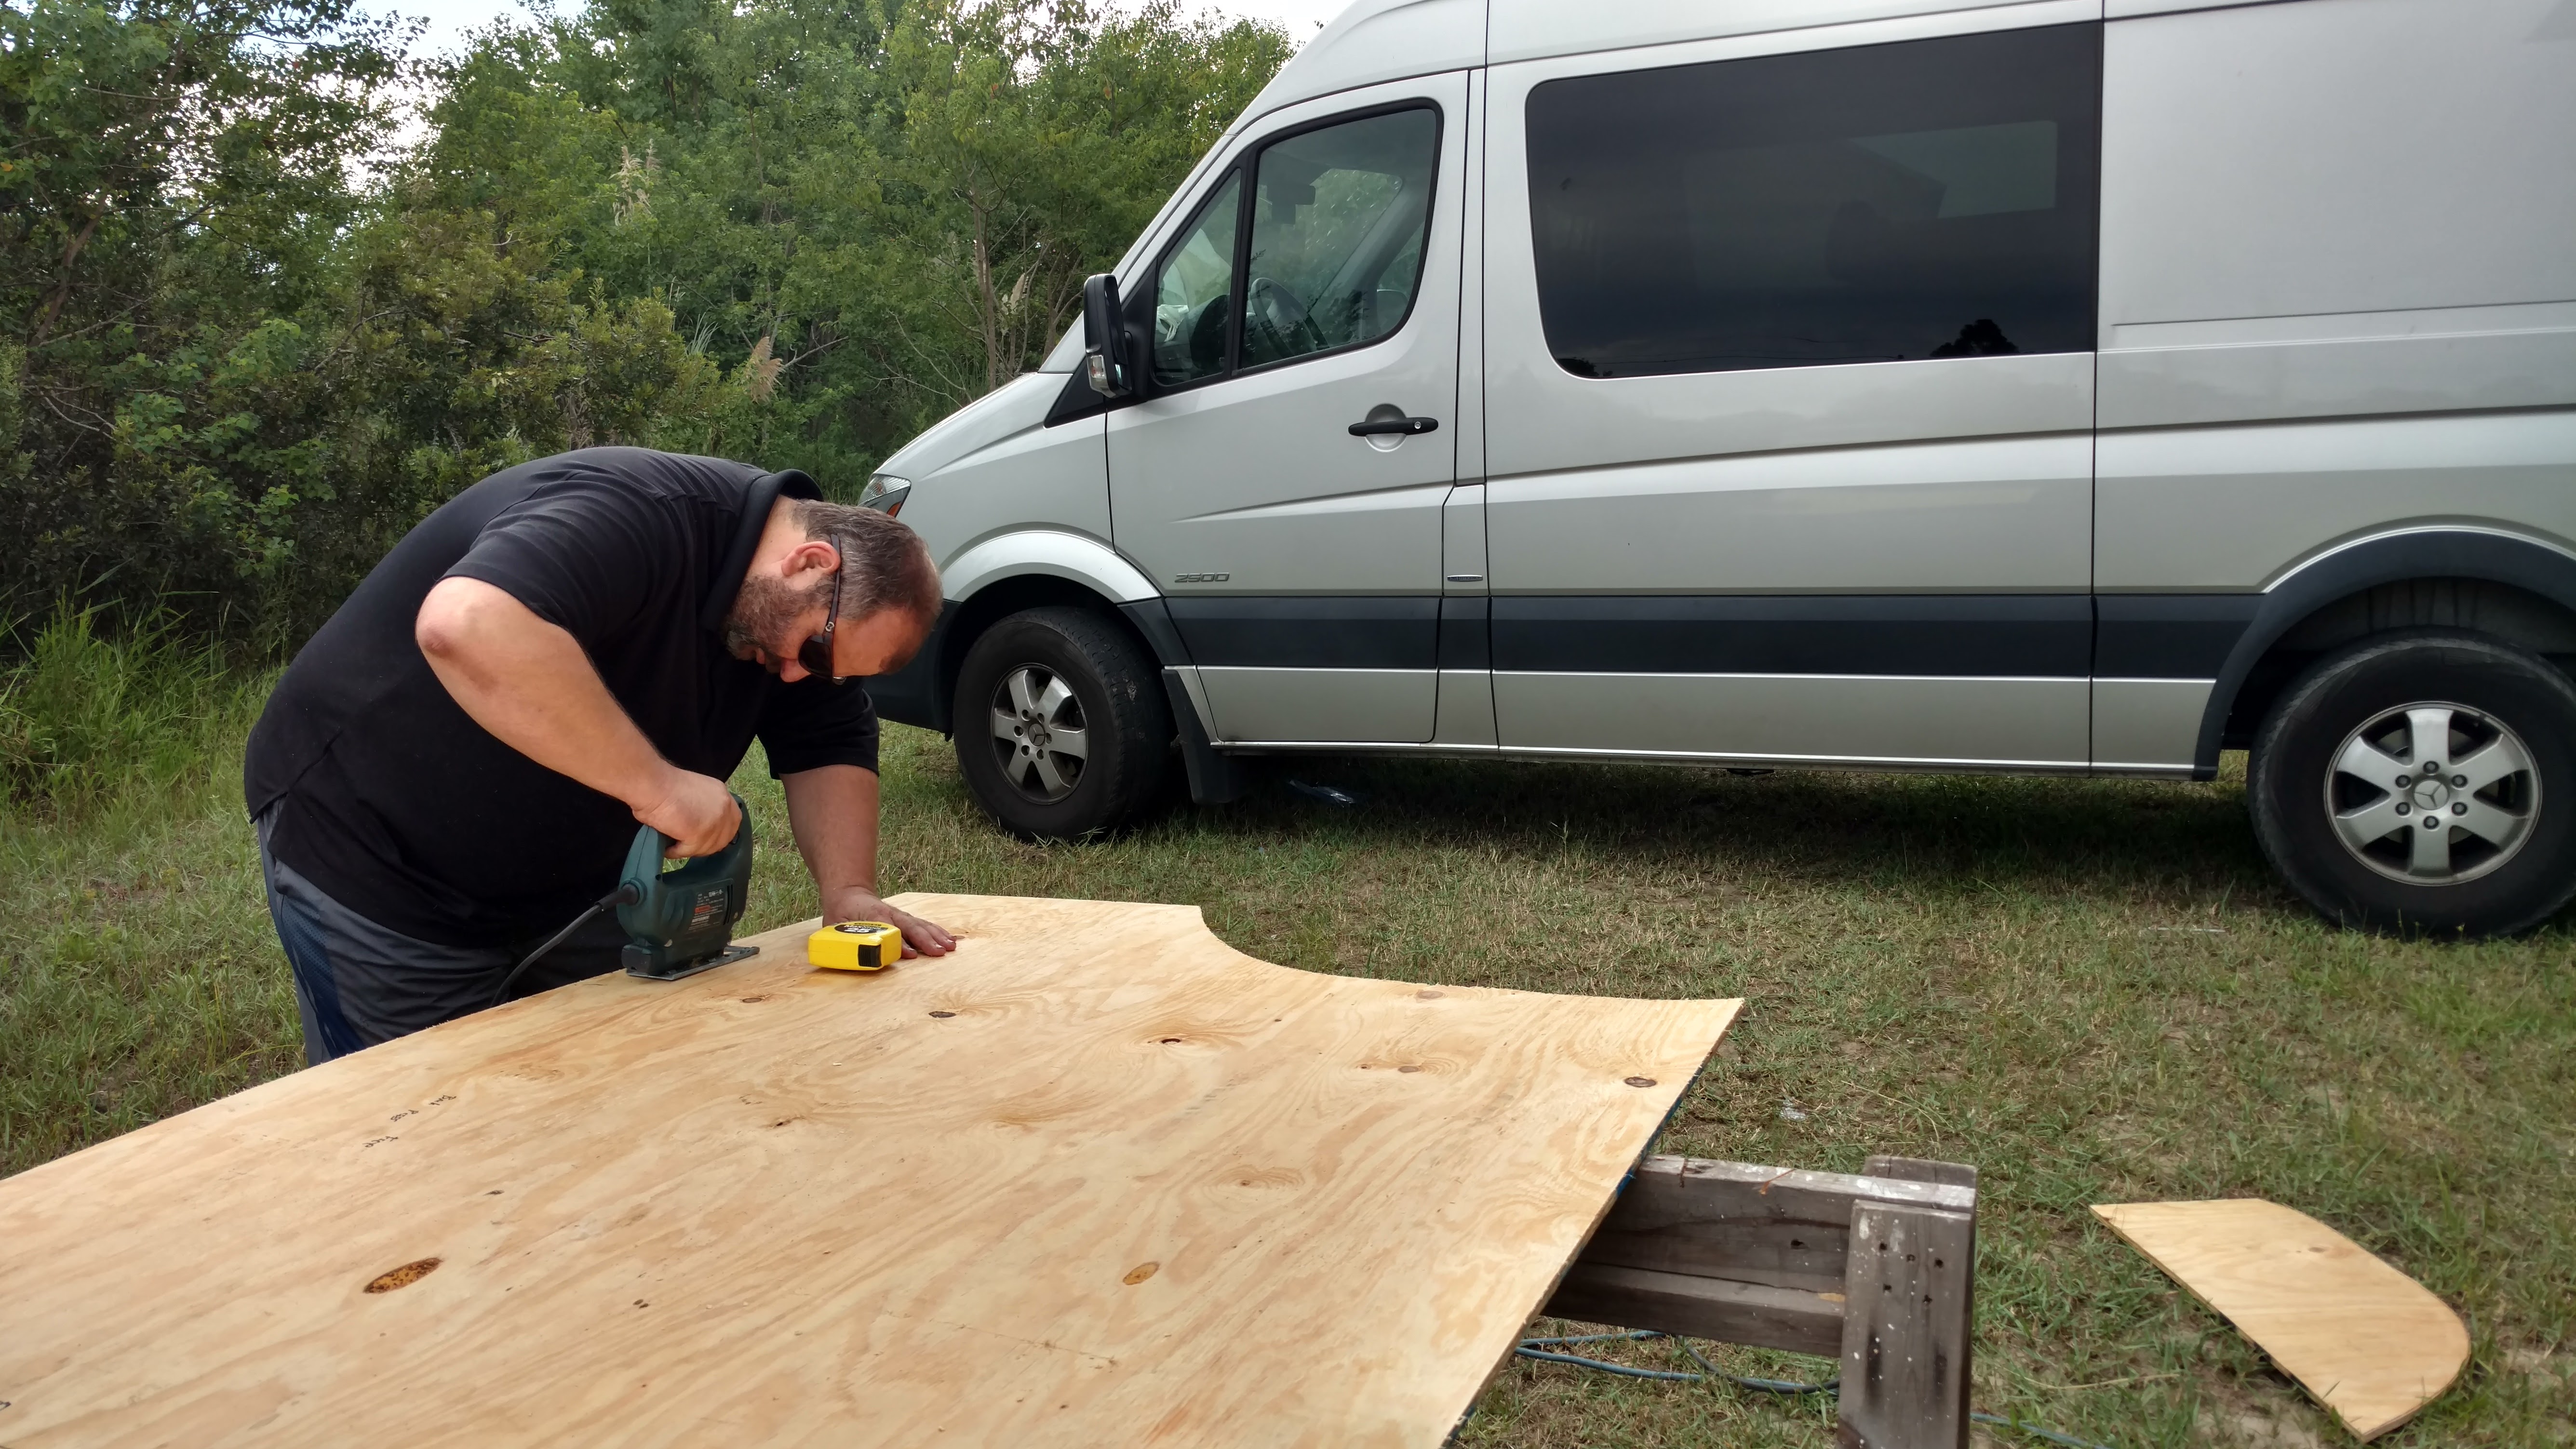
We carpeted the walls and secured the hinges for the upper bunk. We are keeping our fingers crossed that this will work!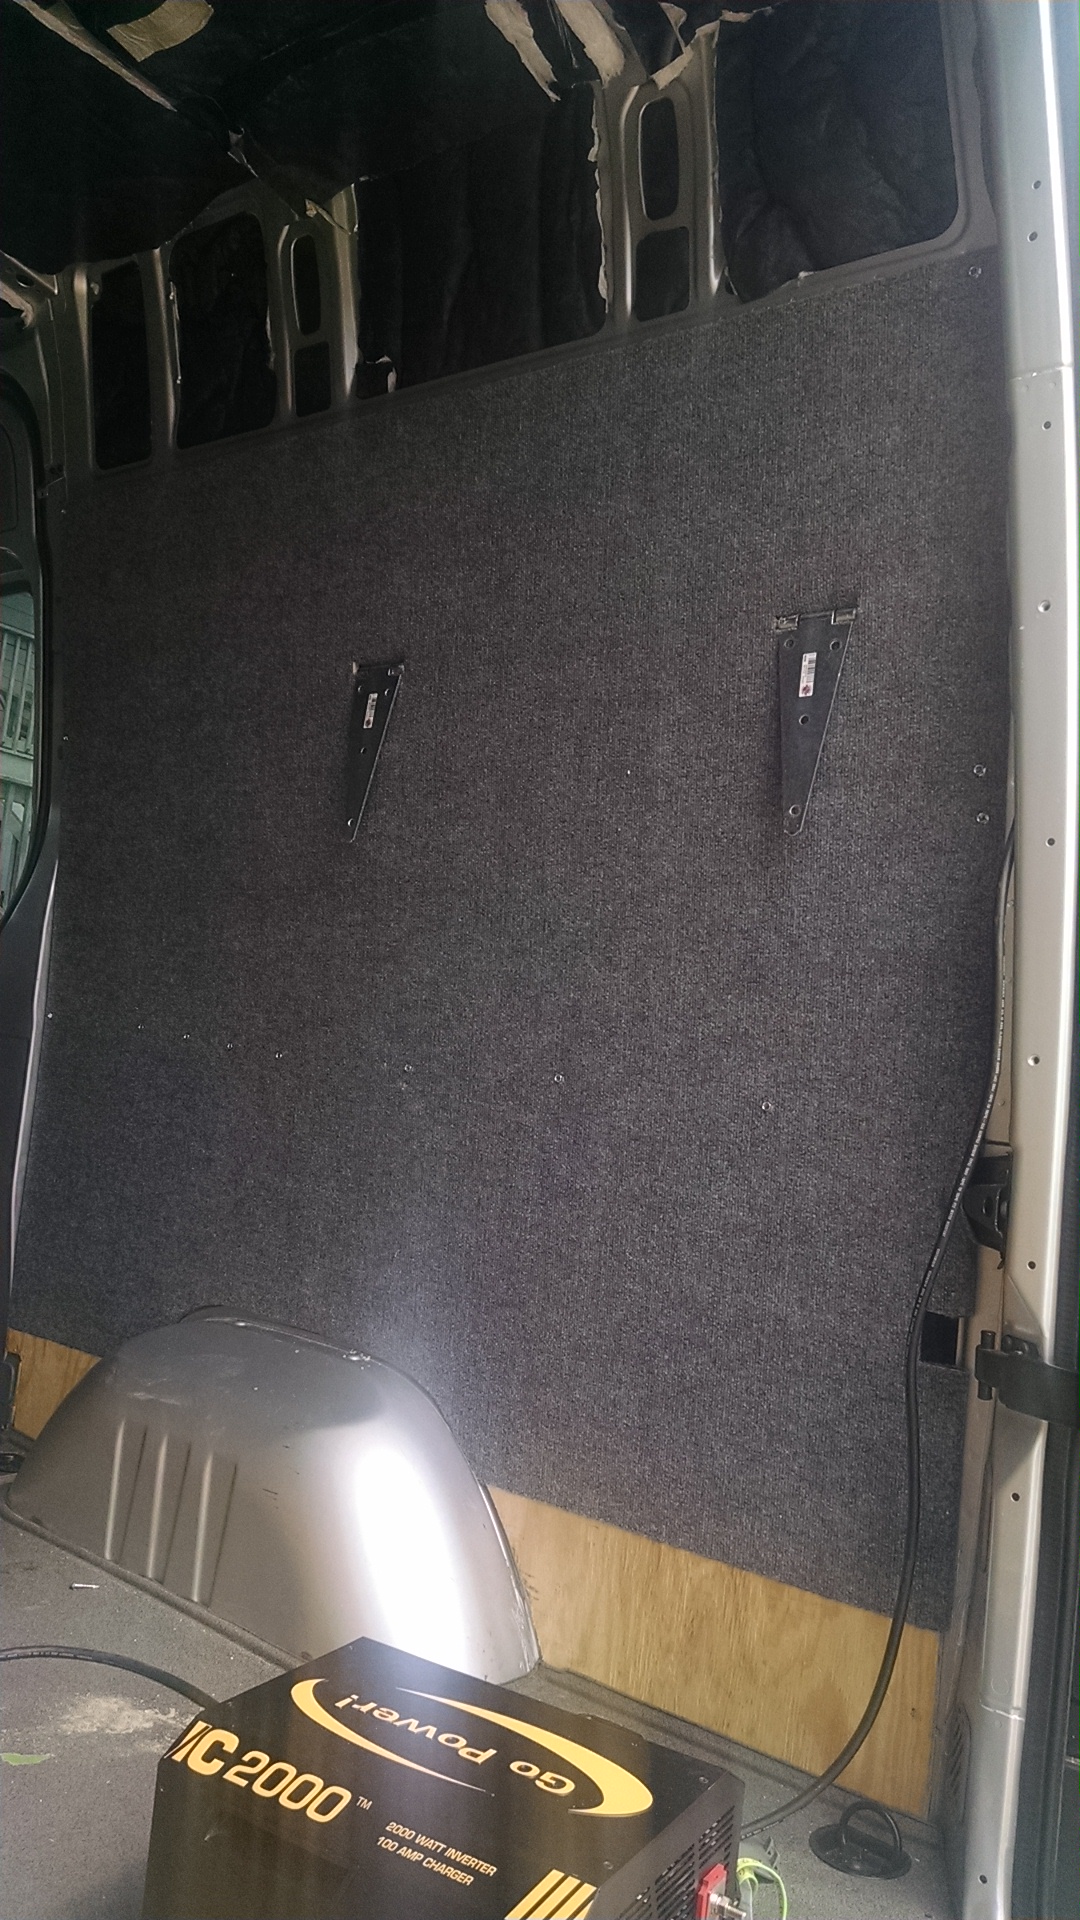
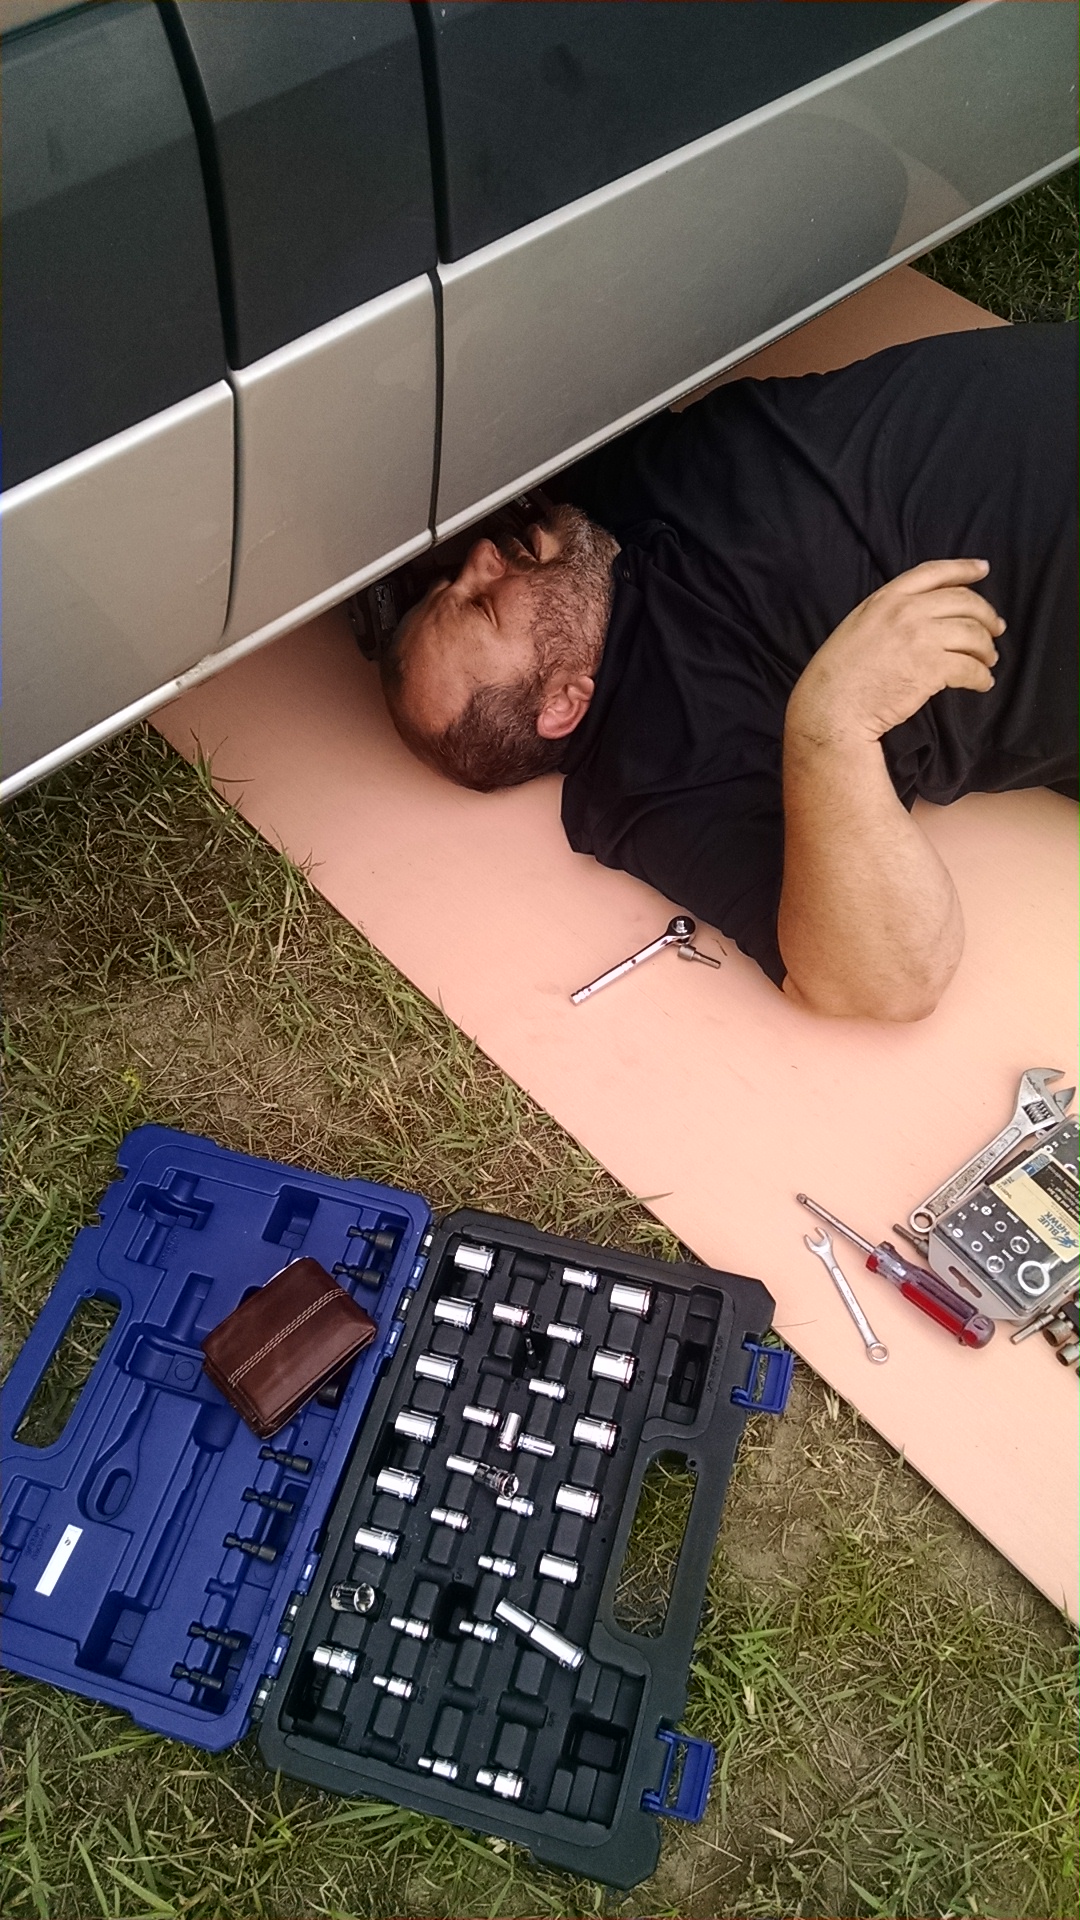
SIDE NOTE:
We spent quite a bit of time lowering the A/C fan that is mounted under the Sprinter. This was to allow it to have more air flow. Before, we noticed the unit was working very hard to get air circulating underneath. Again…poor Chad is doing all the hard work. Not to mention it was SO HOT this weekend!