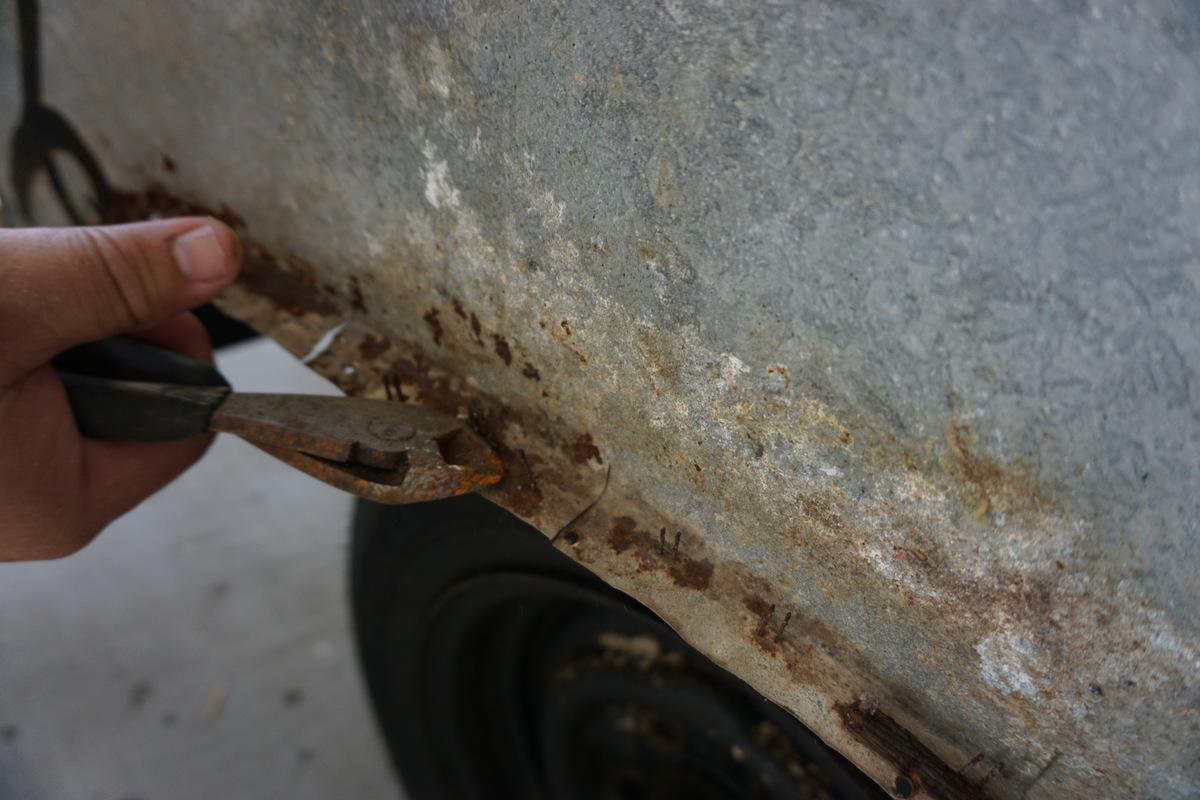
First, we installed a nice solid plywood floor on the trailer. Attaching the wheel wells to the plywood was incredibly difficult. There wasn’t a straight piece of metal anywhere. The staples were very stubborn too. 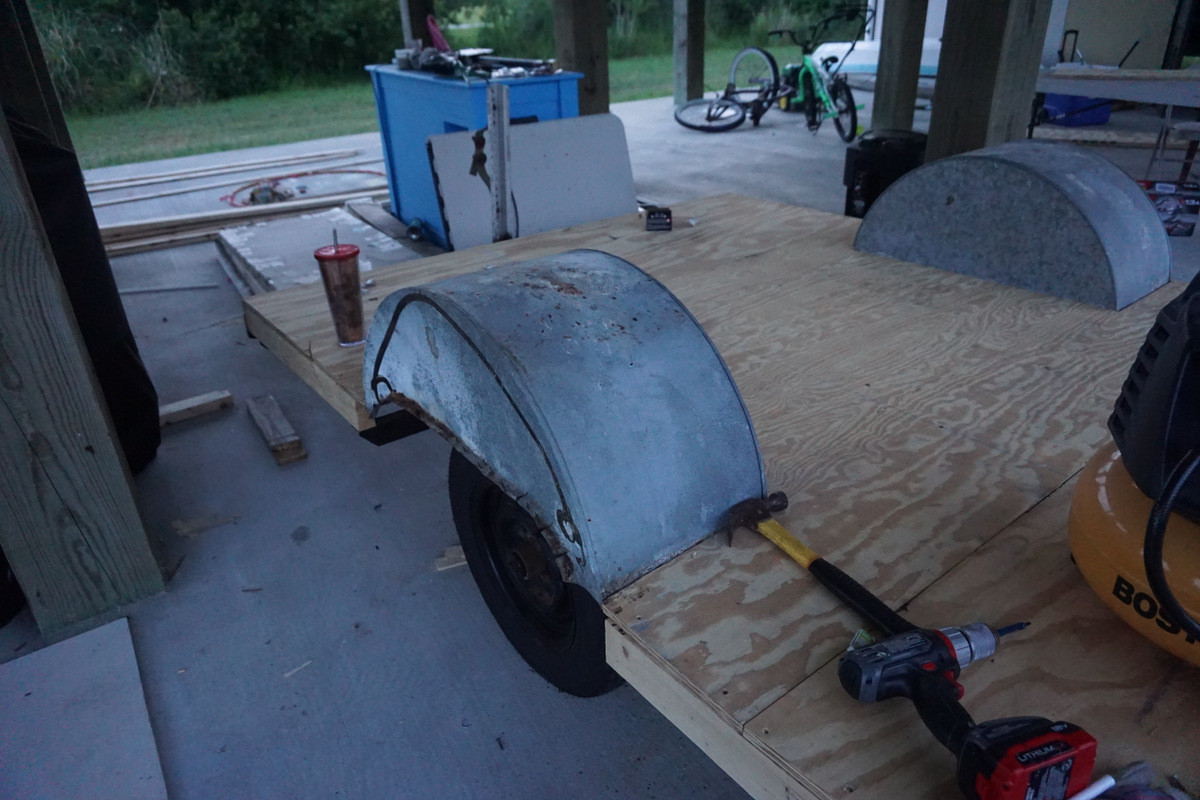
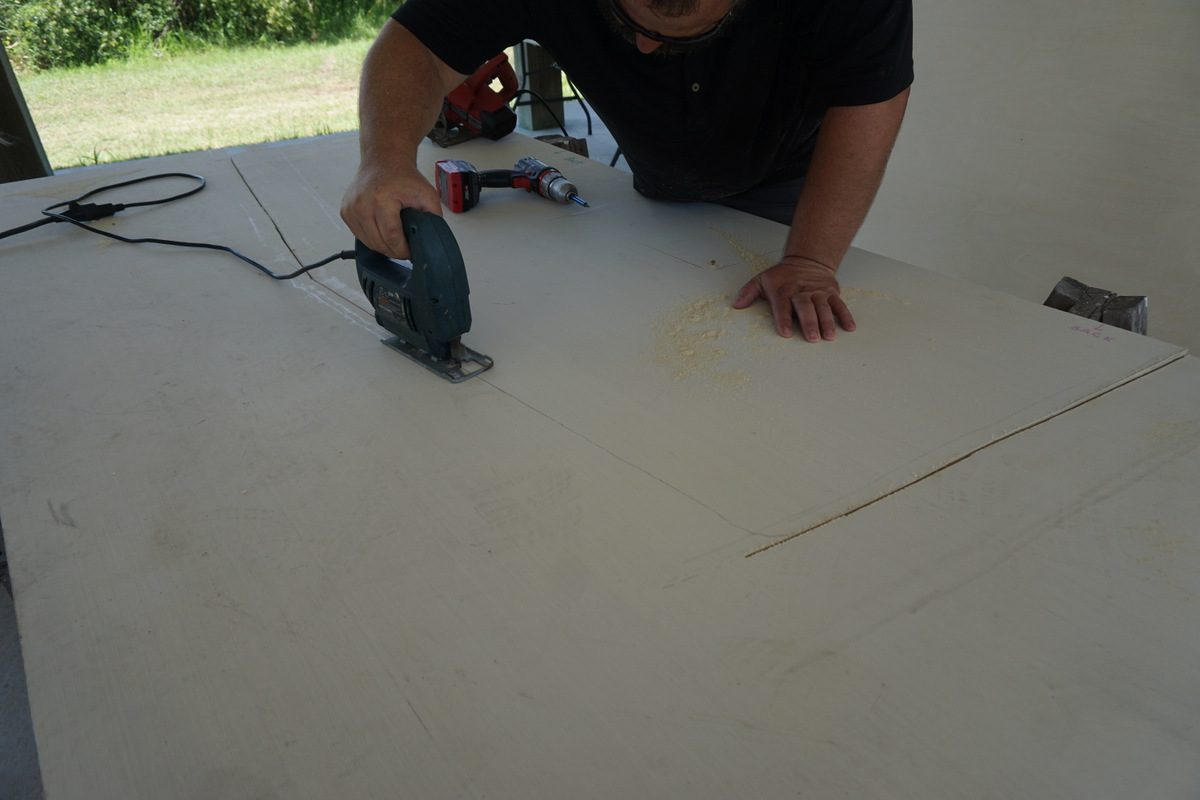
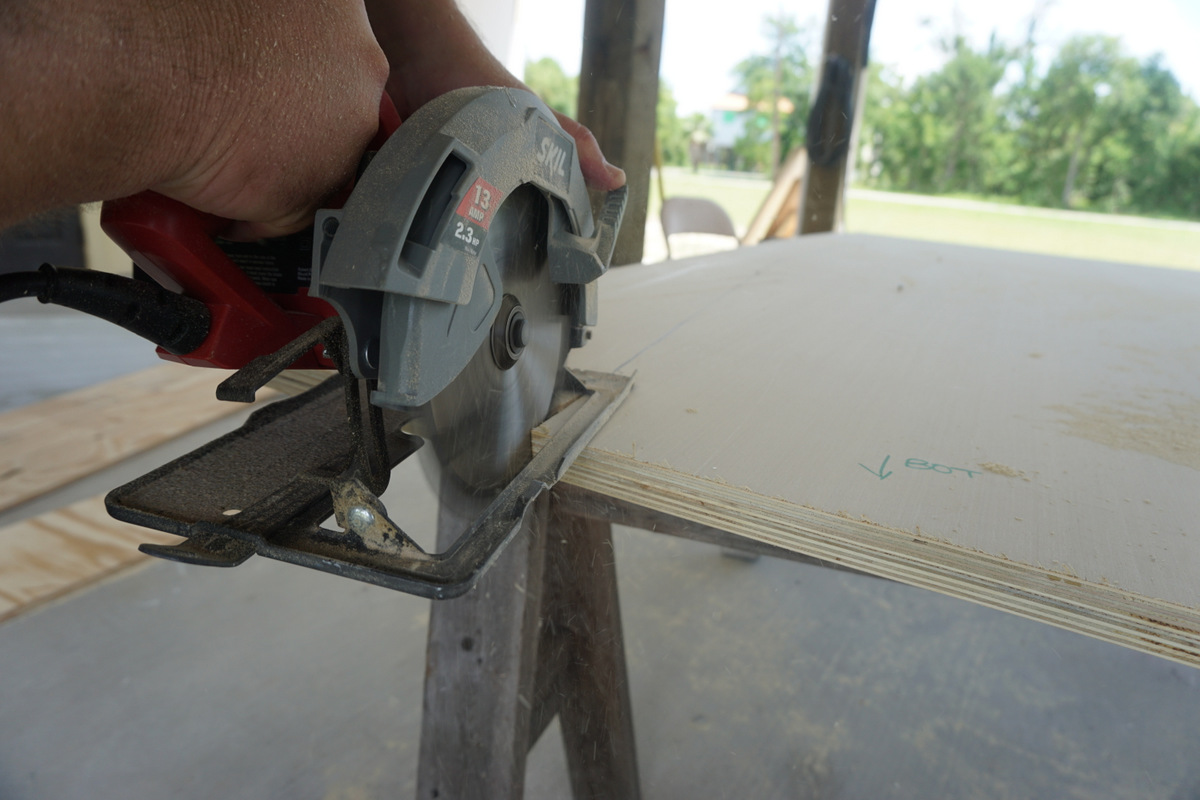
Rebuilding the frame of this Shasta took a little trial and error. Trying to build it back the way it was originally with just the 1×2’s nailed together was turning out to be a nightmare. We took a different and stronger approach. We used 1/2 inch plywood for the walls and a thicker 3-inch board for the ribs. We traced the original frame onto the new plywood. Chad carefully cut them out.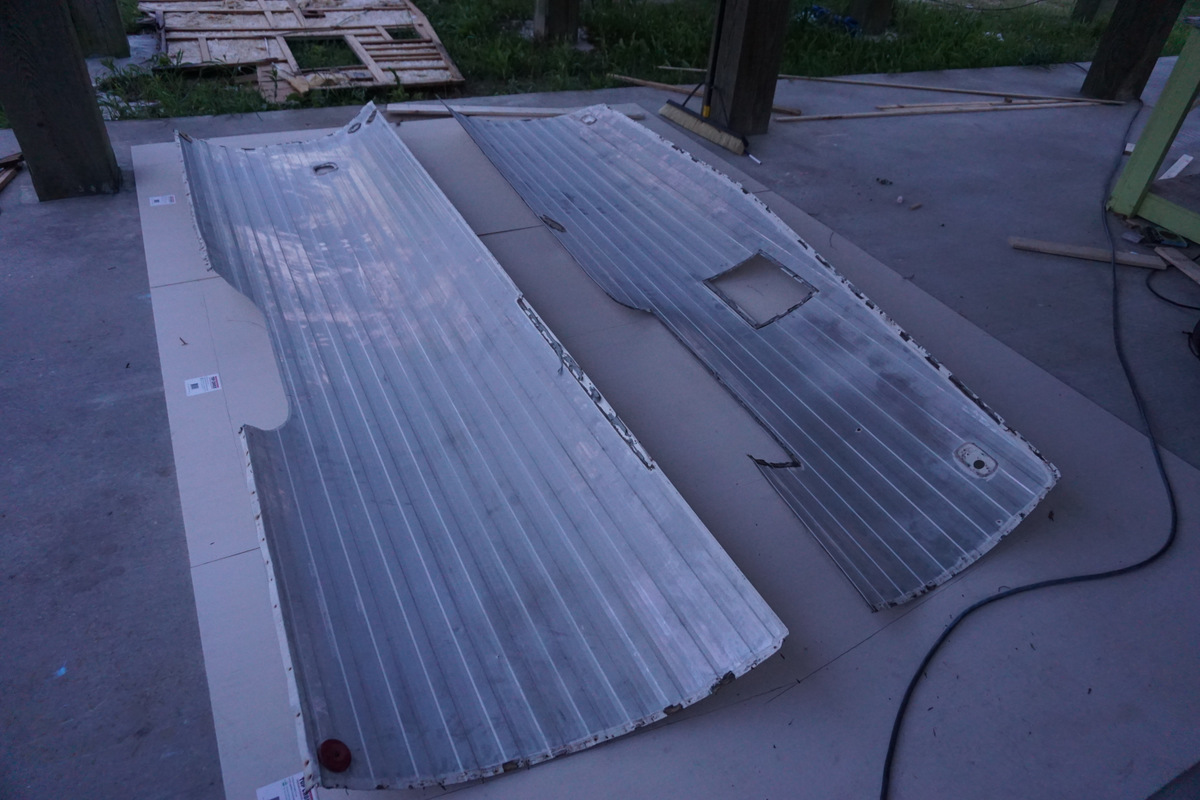
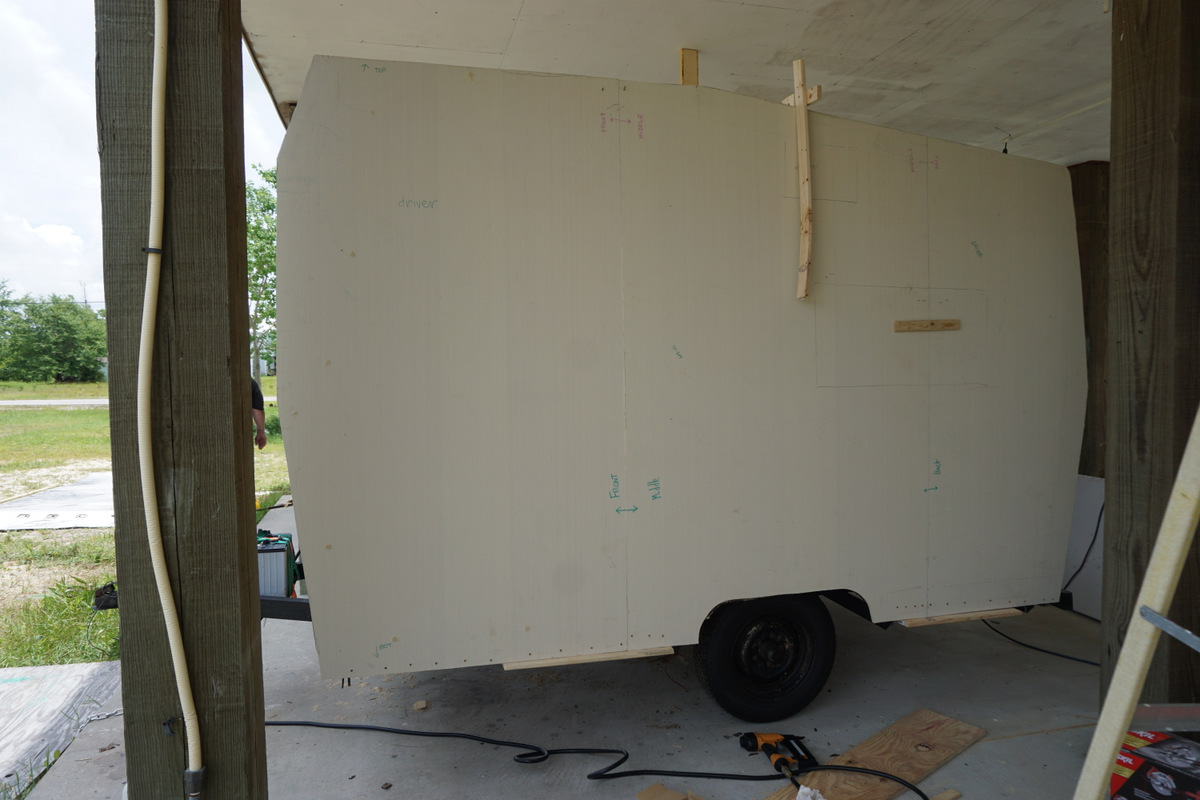
After all of the walls were cut out, we attached them to the trailer base. To make this easier, Chad screwed a little piece of wood to the bottom of the trailer to help support the walls so we could secure them to the frame.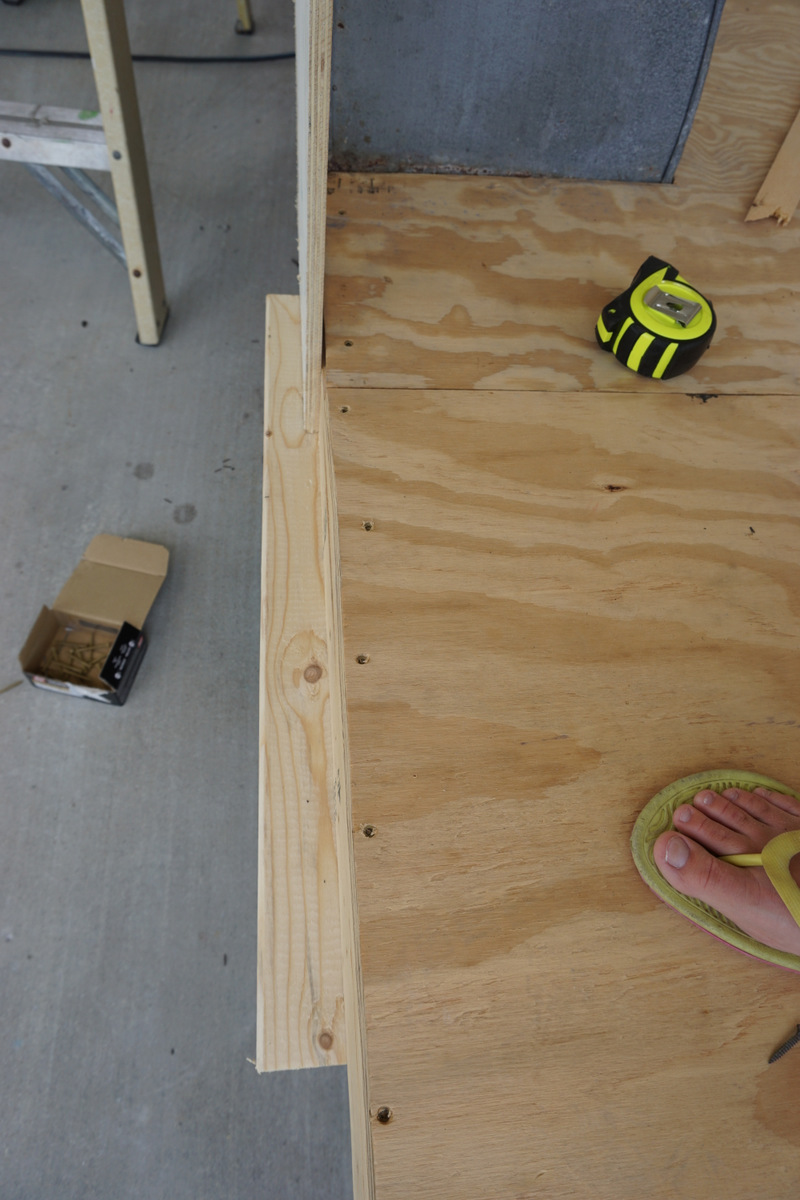
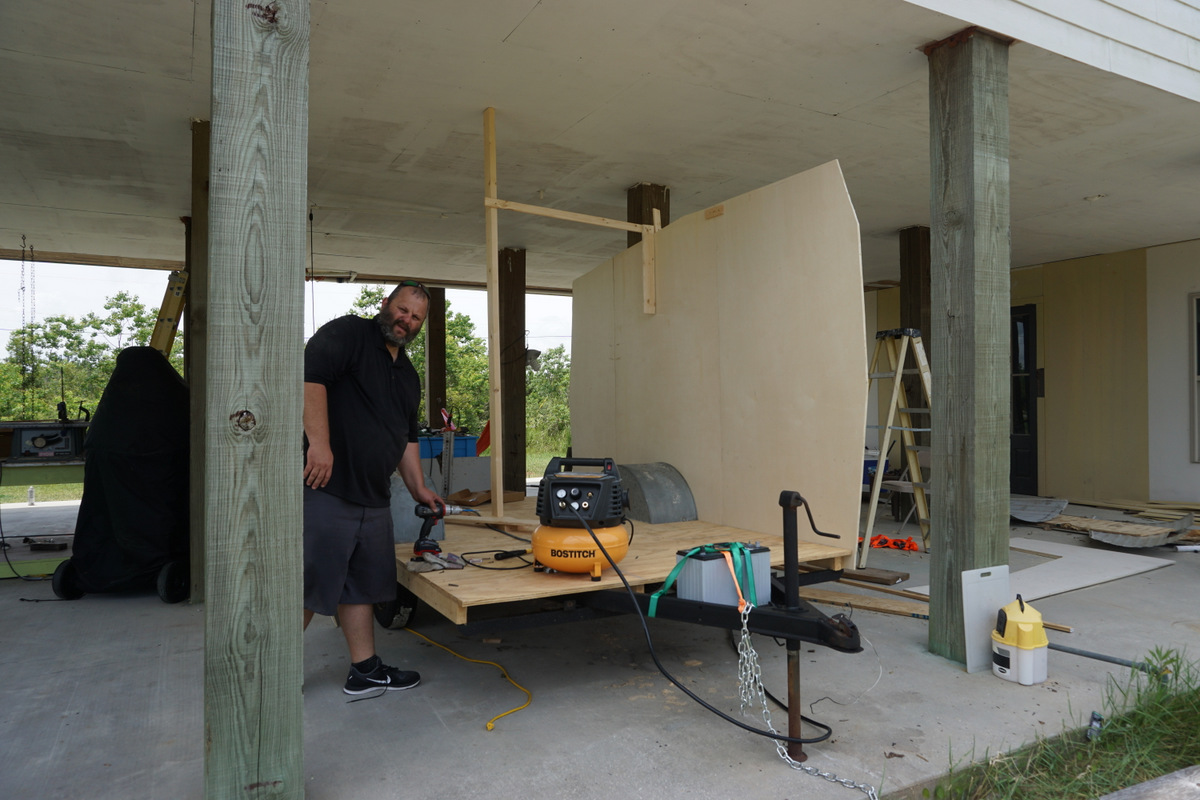
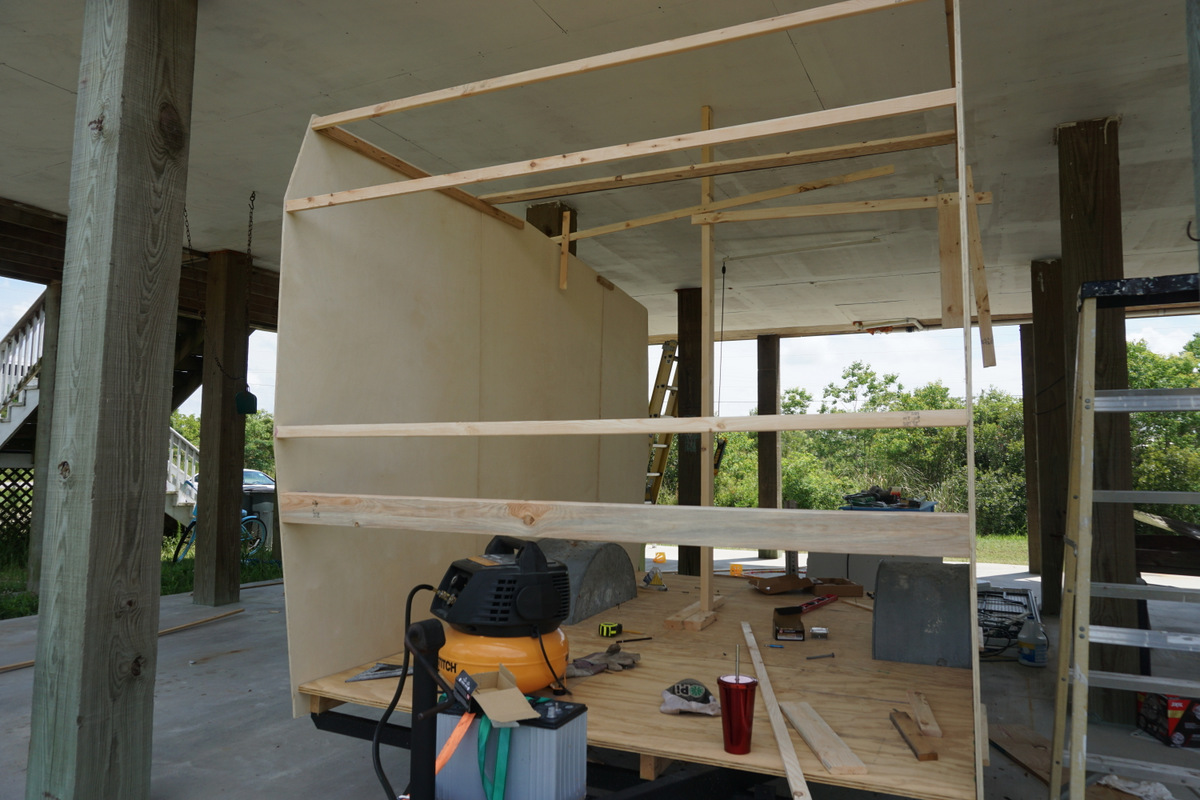
At this point, Chad and I needed to decide how we wanted the floor plan of the camper to be. We knew we didn’t want it to be exactly like it was before because we did not want to put an oven/stove, wall ice box or closet back in. For now, we decided to put a 36-inch high countertop across the whole front of the Shasta. Later on in the build, we may install a sink and build out cabinets underneath. But for now, it’s just the counter. This is also to provide stability so the camper is solid. 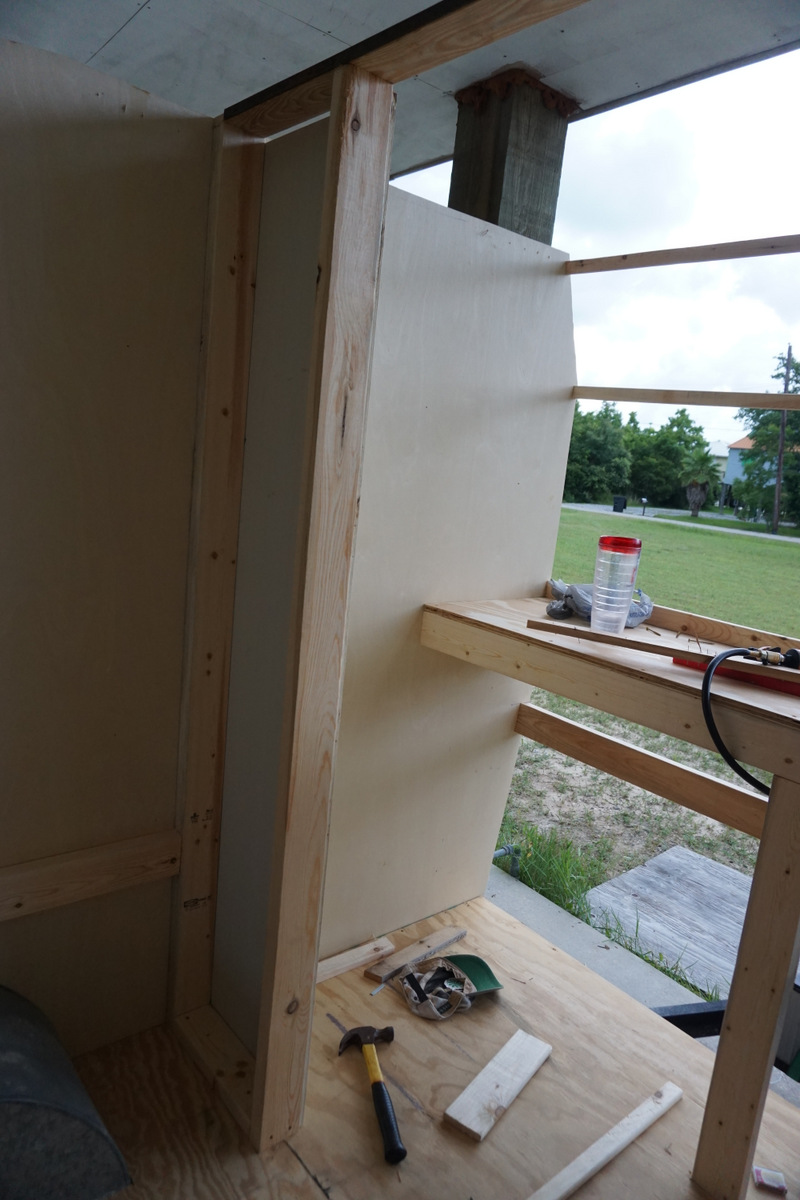
We put the aluminum skin on the side of the trailer to mark the door. Chad then cut door hole out of the plywood and made sure the door fit. By the way, the door is raggedy and will need to be remade. We will probably put a window in the door. 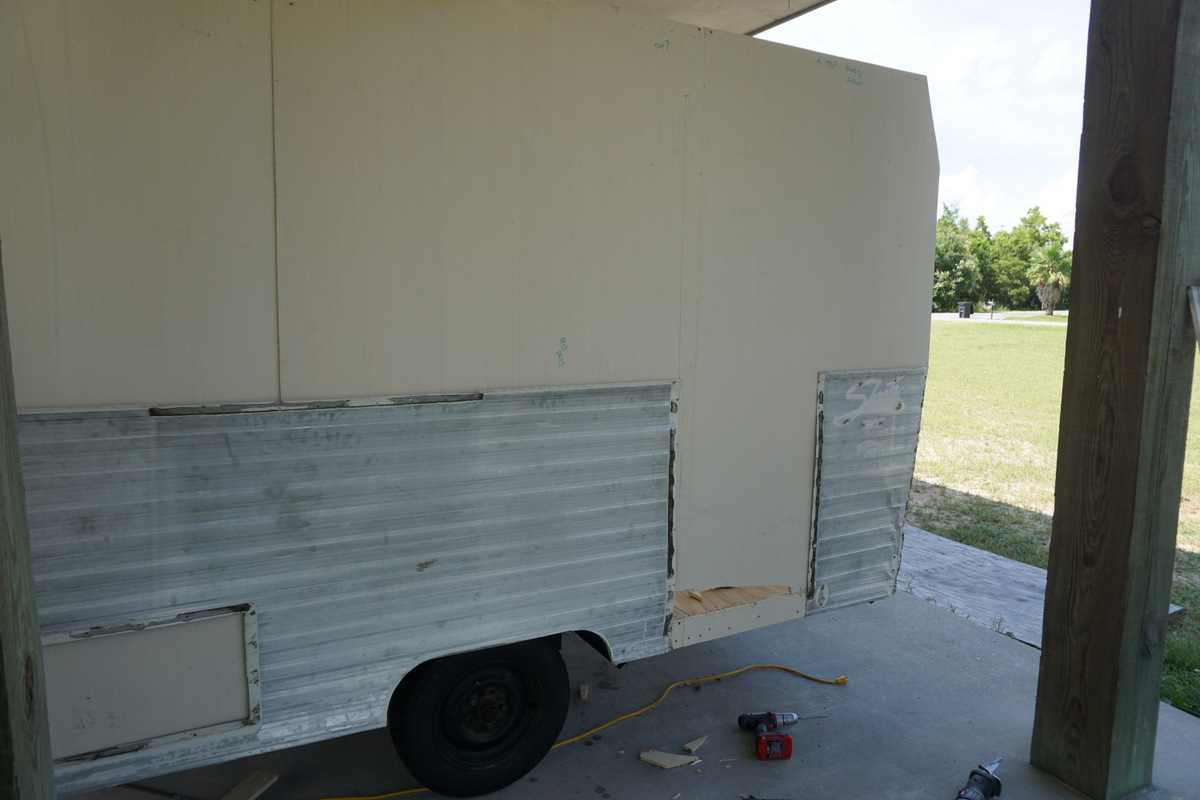
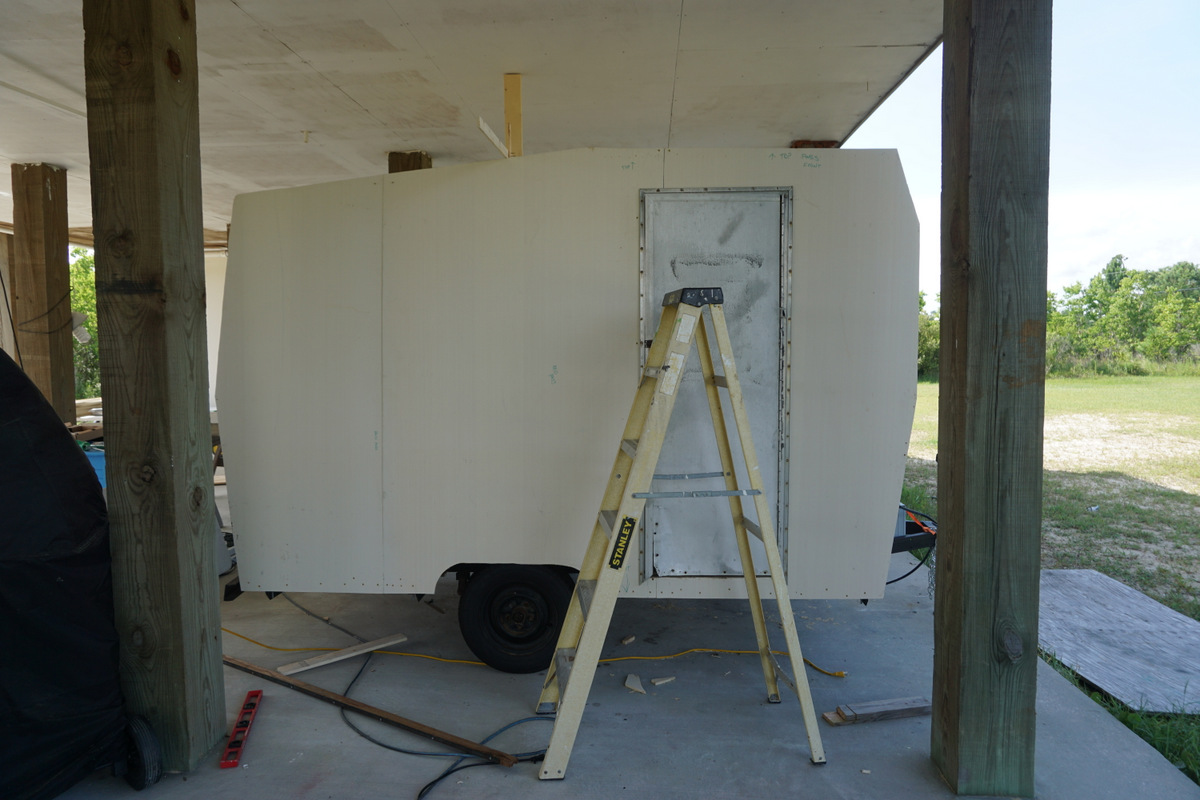
To get to this point in the build, Chad and I have probably spent about 4 days working on it. Now I must say that there were several trips to Lowe’s and time spent swimming with the kids mixed in with this project.